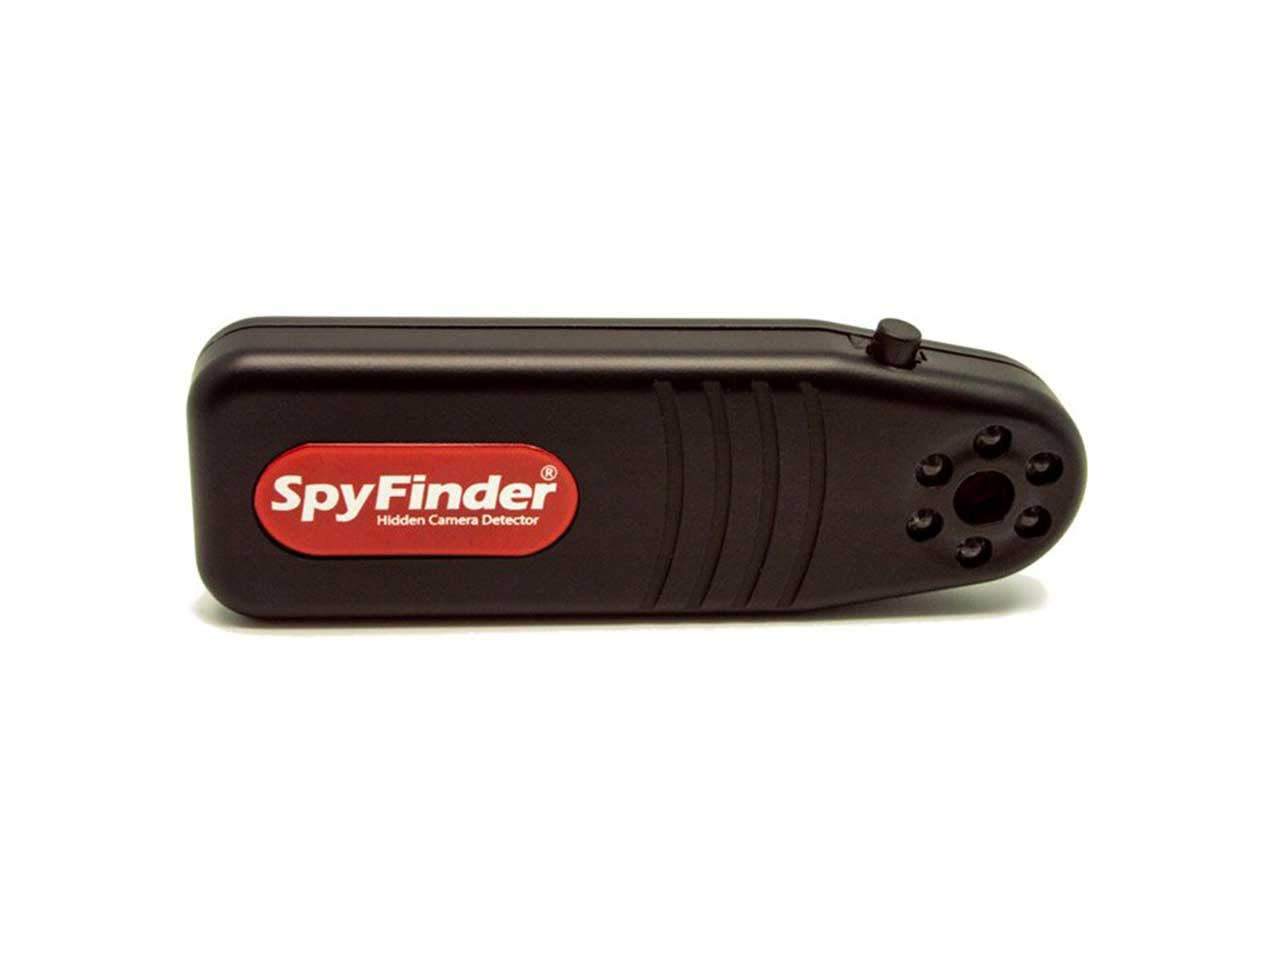
Support: Spy Finder Pro Hidden Camera Detector (007-SF-103P) Manual
Operating your SpyFinder® PRO
Using Your SpyFinder® PRO The SpyFinder® PRO is easy to use and highly effective at uncovering hidden cameras. You no longer need to worry about privacy invasion from covert cameras, as you can significantly reduce the risk by following these simple steps.

1. PRESS POWER BUTTON ON
Turn on the power button to activate the pulsating red LEDs.
2. ALWAYS POINT RED PULSATING LEDs AWAY FROM YOU.
Direct the light beam toward areas of the room where a hidden camera may be located (e.g. smoke detectors, motion sensors, clock radios, electronics, photo frames, and pinholes on walls).
3. SCAN ROOM USING EYEPIECE
Use the eyepiece to scan the room and look for a blinking red dot reflecting back to you.
4. SCAN EVERY OBJECT WITHIN SPACE
Make sure to scan the room slowly and methodically to look for hidden cameras. When looking through the SpyFinder® PRO eyepiece, the lens of a hidden camera will appear as a bright blinking light when illuminated with the SpyFinder® PRO's LEDs. For best results, it is recommended to use the SpyFinder® PRO at distances of 1-10 meters (3 to 45 feet).
The SpyFinder® PRO is recommended for indoor use. While it can be used at distances beyond 10 meters and in some outdoor situations, its performance may be affected by ambient lighting conditions.
The "Button Behind Eyepiece" is the PAUSE BUTTON, which stops the pulse. This feature allows the user to change their vantage point to avoid false positives and quickly restart. Please refer to the section below titled "False Positive Reduction".
The SpyFinder® PRO is equipped with an Exclusive LED Maxi Booster to help you locate hidden cameras anywhere.
The device has 3 different levels of LED power, which can be activated by pressing the back LED booster button. When the device is turned on, the SpyFinder® PRO LED Booster emits the brightest LED light pulsating away from the viewer. This is ideal for inspecting larger areas, as the bright light makes reflections easier to see.
When the back "PRO LED Booster Button" is pressed, it has the following functions:
- First press: Medium boost, best for small room spaces measuring 15 x 20 ft.
- Second press: Mini boost, ideal for smaller areas such as fitting/dressing rooms measuring 8 x 15 feet.
- Third press: Maxi boost, suitable for larger spaces like living rooms and offices measuring 20 x 45 feet. Maxi boost returns the device to the original brightest light for wide spaces of up to 45 feet.
With these settings, users can adjust the LED booster button level to suit the size of the room being inspected.
Best Uses:
The SpyFinder® PRO is primarily used to detect hidden cameras in various locations such as hotel rooms, locker rooms, bathrooms, buildings, personal spaces, and offices to ensure privacy. When scanning an area, it's essential to move the device slowly across the walls and ceilings in a left-to-right or right-to-left fashion. This slow, methodical scanning allows you to look for blinking lights through the device's eyepiece.
It's recommended to scan at a rate of approximately 0.3 m/s (1 ft/s), but the scan rate may vary based on the operator's skill level and familiarity with the device. It's advisable to start with slower scan rates when you're getting used to the device to avoid missing any cameras.
If you're unsure about detecting a camera, it's recommended to physically inspect the suspected area more closely.
False Positive Reduction:
To reduce false positives, keep in mind that some objects being scanned may reflect light and cause false signals, such as curved reflective surfaces like doorknobs. One effective way to differentiate a false positive signal is to change your viewing angle. This is because a camera detected in the area will not move relative to its surroundings, while a false positive will.
For example, imagine a wall clock with a domed plastic cover and a pinhole camera hidden beneath the number Five on the clock face. When using the SpyFinder® PRO to scan the clock, a reflection will be seen where the camera is located. However, a reflection will also be noted from the plastic cover. If you move your viewing angle, the reflection from the cover will appear to move, but the reflection from the camera will remain underneath the Five on the clock face.
MAINTENANCE
Besides keeping the unit clean, the only maintenance required for the SpyFinder® PRO is changing the battery. The battery provides a total on-time of approximately 90 minutes. It is crucial to install the batteries with the proper polarity to avoid damaging the unit and voiding any seller warranty.
To change the batteries:
- Use a Phillips head screwdriver to open the Battery Compartment Door
- Remove the used batteries and dispose of them properly
- Install two new AAA alkaline batteries, ensuring they are oriented according to the diagram inside the unit
- Replace the battery cover
For technical support, please call us at 800-654-7966.
Dec 3rd 2023
